
Set and release constraints
Experimental status: constraints are an experimental function group (Constraints).
Goal
The lower edge of a part stays horizontal; a second line runs parallel to it at a distance of 22 mm — even when the edge is rotated or moved later.
Steps
- In the ribbon unfold the group “Constraints” (triangle) and choose “Horizontal” (1); click the lower edge. On the first call the pill “⚠ Constraints are still experimental” appears at the bottom — “don't show again ✕” hides it permanently.
- Choose “Parallel” (4). First click on the lower edge (reference), second click on the second line — it aligns.
- In the window “Abstand zwischen parallelen Linien:” enter 22, “OK”. The line moves to 22 mm.
- Test: move the edge with the tool “Move” — the second line follows in parallel.
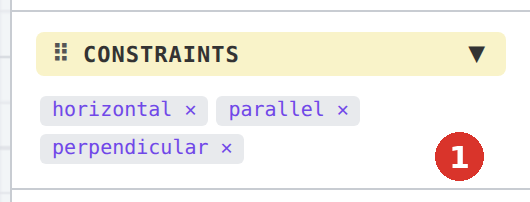
- Release the constraint: right-click the parallel symbol at one of the lines → “🗑 Delete constraint”; or select the line and click the ✕ of the tag “parallel” in the “Constraints” section.


Result
Status bar “Constraint: horizontal” and “Constraint: parallel applied”; both lines carry the symbols. Every constraint is one undo step.
Tip
If the symbols disturb the picture, the system layer “Constraints” hides them — the constraints stay in force.